Clean after yourself – a few words about Retention Policies
Do you use a change log in your solution? Or maybe you built your own log? Not? Then maybe you have some tables which should be cleaned after some period? If yes, then this post is for you. In the new version, we get a tool to clean the tables.
Care about the size of the database
During the last Microsoft Office Hours, it was shown how many records the Change Log Entry table can have. It was huge! And after some time, no one cares about what has been changed in some field. So the records should be deleted to release some space in the database and improve performance.
In fact, in Business Central we have more logs than only Change Log which can grow over time. Think about Email Outbox and Sent Emails (new feature) or Job Queue Log. So how to remove the records from the database and how to not forget about this task?
Retention Policy
For standard (but not only – more info below) tables you can set up Retention Policies. In the setup, you need to fill the Table No. and Retention Period.
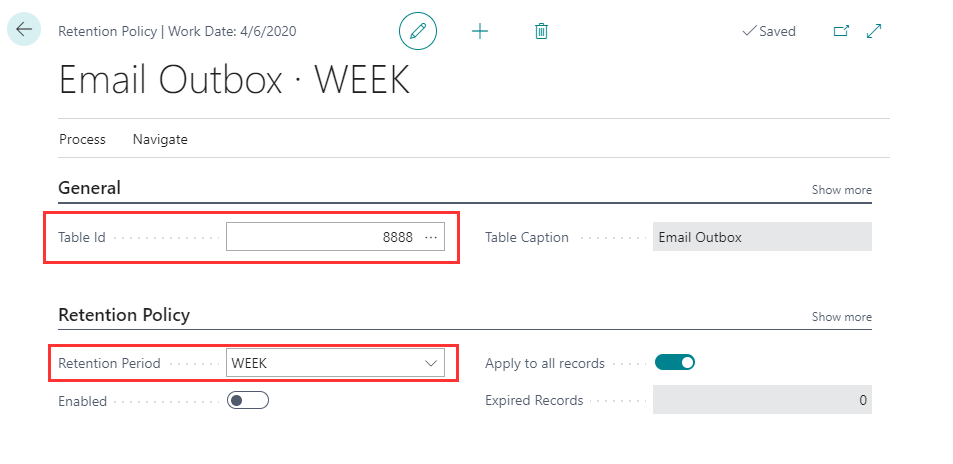
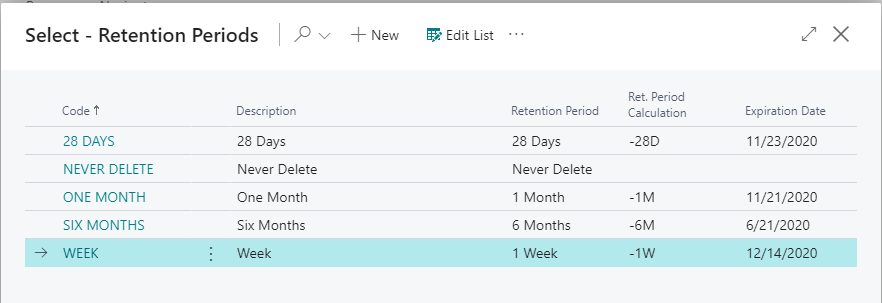
The Retention Period decides which record expired. The system calculates the date based on the DateFormula from the Date Field (which by default is SystemCreatedAt field but can be changed to any other date field).
Filters
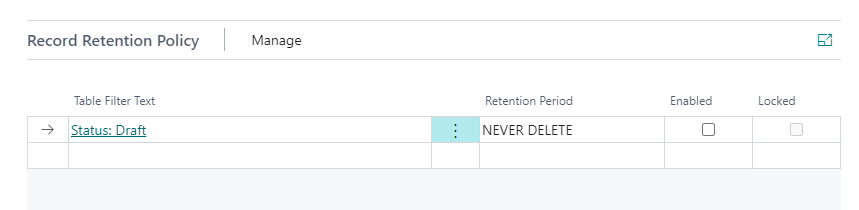
For some tables it is needed to filter records that should be deleted. To do so you need to unmark the field Apply to all records. You will be able to add Record Retention Policy which allows applying multiple filters and Retention Periods for records.
Run
There are two ways to run a retention policy. Manual – which is done from the card or list.

Also, there is a Job Queue Entry which runs automatically the codeunit Retention Policy JQ.
Add Tables
In the solution I am working on, we added our own changelogs. This is because we couldn’t (and did not want to) use the standard one. A very similar approach is done in Service Contract functionality. So how to clean up the tables?
We could develop the report which would delete the old records but that would take time developing, testing, documenting new features, and train users how to use it.
Instead of the old way we just decided to use Retention Policy. It gives us a lot of benefits – simple development, testing, and documentation that can point to standard Microsoft Docs.
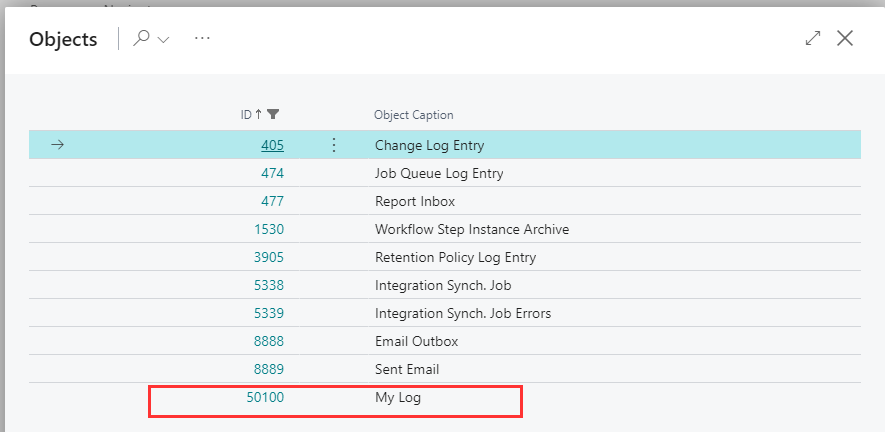
If you would open the list of tables that can be set in the Retention Policy, you would find that there are not so many options – which make sense since you do not want even by mistake add for example Customer table there. So, the list actually shows only tables that are relevant.
It is needed to develop a function (for example in the installation codeunit) if you want to add custom tables.
Below you can find a sample of code for that. In the last parameter, I could set a minimum number of days that need to be set for the policy (if someone will set for example 5 Days will get an error).
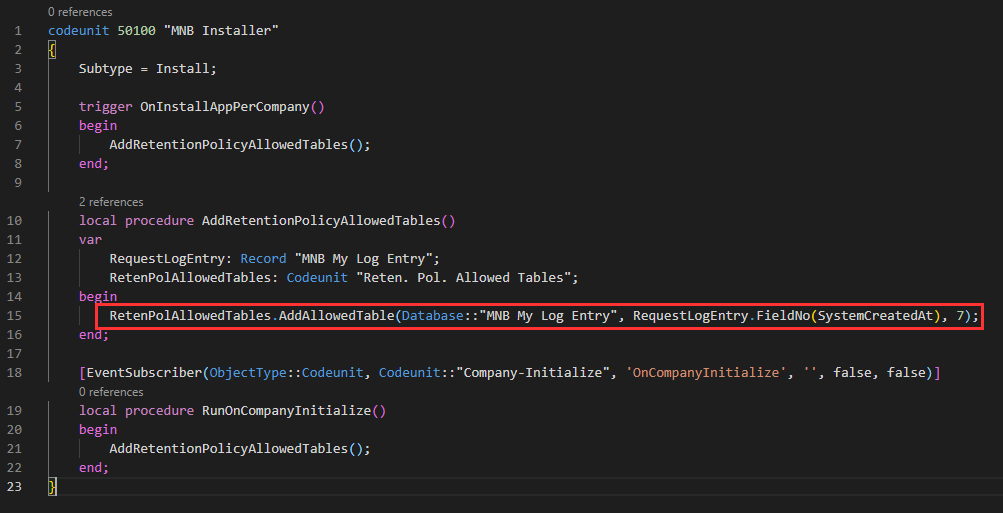
In the Retention Policy module on GitHub you can find more overloads for the method – ALAppExtensions/Modules/System/Retention Policy. For example, you can build you can use own codeunits to filter and delete the records by implementing the correct interface – however, at this point, I did not need that in my functionality.
Few Findings from my side
I was not able to get the field Expired Records to work – always in my case, it showed zero records. Also, I do not like that in the caption of the page the table name is shown instead of the caption. Here you can track those issues Issue #10335
Besides those small things I really think it is a great module added to System App which allows to easy control not needed data in logs.
Assisted Setup – Part 1: Introduction
Small changes that you can miss in version 17
One Comment