Automated Builds – Part 5: Compile and Publish single Extension
In the series related to the automated builds, I get to the point when I can compile and publish the extension in the docker container.
In this article, I will show how to do that. Additionally, in the end, I will add a step when the file with the application will be sent back to the Azure DevOps. It will be ready to be published in any environment where should be release.
Compile the code
For a compilation of the code which is in the repository, I will again use the NAVContainerHelper. The first step is to create the PowerShell script. The example you can find here:
https://github.com/mynavblog/AzureBuildPipeline/blob/master/BuildScripts/CompileSingleApp.ps1
As you can see there is not so much code here. Thankfully to the helpers, I need only one line to run the function. The file with the application will be created in the path related to the artifacts staging directory.
In the YAML file now I need to add a new step to run the PowerShell created. Example of the code you can find below.
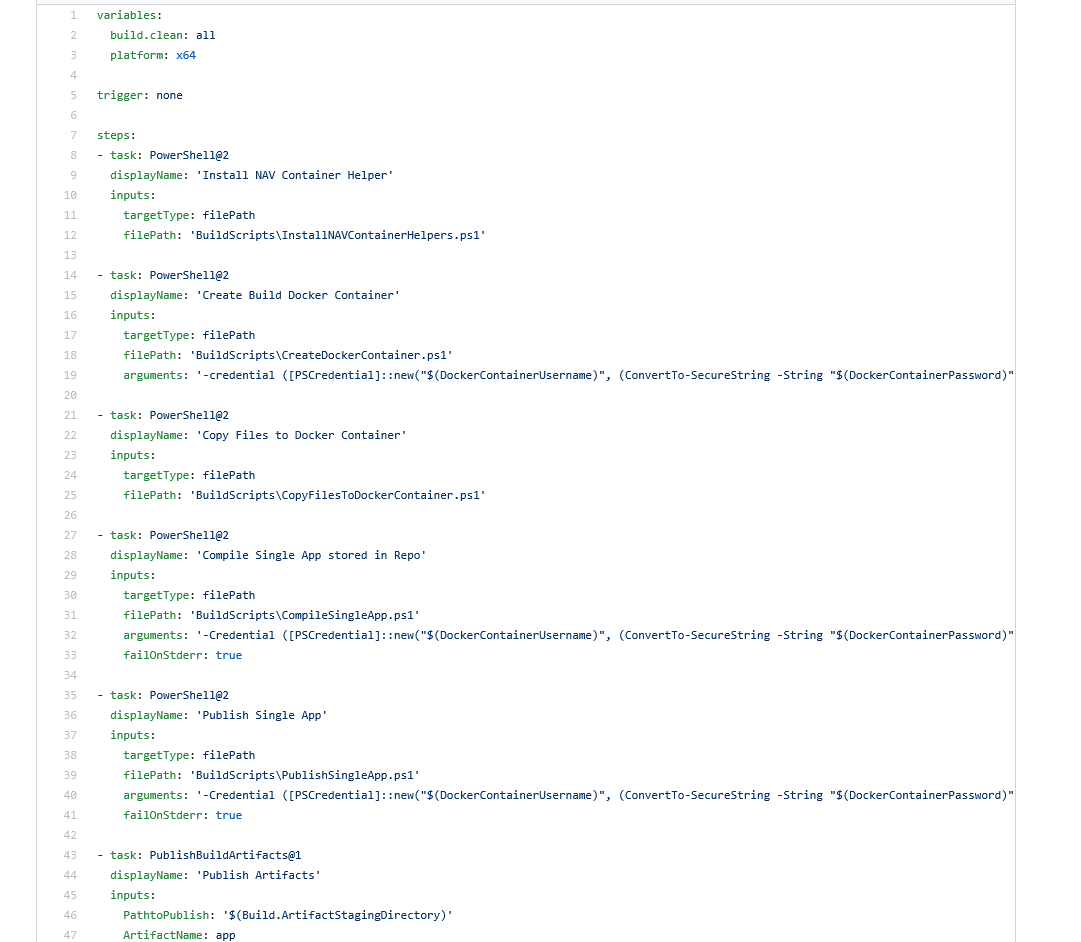
– task: PowerShell@2
displayName: ‘Compile Single App stored in Repo’
inputs:
targetType: filePath
filePath: ‘BuildScripts\CompileSingleApp.ps1’
arguments: ‘-Credential ([PSCredential]::new(“$(DockerContainerUsername)”, (ConvertTo-SecureString -String “$(DockerContainerPassword)” -AsPlainText -Force))) -BuildFolder “$(Build.Repository.LocalPath)” -BuildArtifactFolder “$(Build.ArtifactStagingDirectory)”‘
failOnStderr: true
Publish the extension
We could combine this step with the previous one however it looks much cleaner if those two steps are separated if we have only one extension.
Again the first step is to prepare the PowerShell script which will publish the app in the container. The script you can find here:
https://github.com/mynavblog/AzureBuildPipeline/blob/master/BuildScripts/PublishSingleApp.ps1
It takes the apps’ files (even if only one) from the folder where we compile it previously and publish and install in the container.
Last thing which is needed is to add new step to YAML file.
– task: PowerShell@2
displayName: ‘Publish Single App’
inputs:
targetType: filePath
filePath: ‘BuildScripts\PublishSingleApp.ps1’
arguments: ‘-Credential ([PSCredential]::new(“$(DockerContainerUsername)”, (ConvertTo-SecureString -String “$(DockerContainerPassword)” -AsPlainText -Force))) -BuildArtifactFolder “$(Build.ArtifactStagingDirectory)”‘
failOnStderr: true
Publish the artifacts
As I wrote at the top, if the file with the extension should be again visible in the Azure DevOps it is needed to publish the artifacts at the end. For that, the last step is to add to YAML file the task. It can look as below. As you can see the path from which we take the files is the same which we used in the script to compile the code.
– task: PublishBuildArtifacts@1
displayName: ‘Publish Artifacts’
inputs:
PathtoPublish: ‘$(Build.ArtifactStagingDirectory)’
ArtifactName: app
Summary
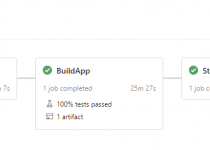
In some cases, such quick build pipeline is enough. In the YAML we have steps to install NAVContainerHelper, create the container, compile and publish the app. If all ok you are ready to release the app to any environment which you need.
The full example of a YAML file will look similar to the below. The example you can find also on GitHub here:
https://github.com/mynavblog/AzureBuildPipeline/blob/master/BuildScripts/CISingleApp.yml
In the next articles, I will show how to add the testing for the extension and write how to do pull from more repositories.
Automated Builds – Part 2: Install Agent
Automated Builds – Part 10: Using Artifacts
One Comment