Automated Builds – Part 8: Release Pipeline
The series I started from creating the container, then showed compiling and publishing the extensions (app files) and finished with executing automated tests. But all happened on the Docker container. Should we use it also for manual tests or production environment? Of course not. For that, the “normal” database is needed.
Artifacts
In some places of the series, I used the term artifacts. What are those? From the definition “an artifact is a deployable component of your application”. What does this mean for Business Central? This is the file that is generated after the compilation of the code – the app file.
How to publish the artifacts at the end of build pipeline I described here: http://www.mynavblog.com/2019/08/14/automated-builds-part-5-compile-and-publish-single-extension/
Release Pipeline
When the build is finished and the app file (or multiple apps) is published as the artifact we can start releasing the extension to the database (or databases). For that, the Release Pipeline is needed.
This time I do not have for you a working script. Why? Because each company database structure and extensions that are needed are different. Don’t worry – I will show how to create a simple release pipeline.
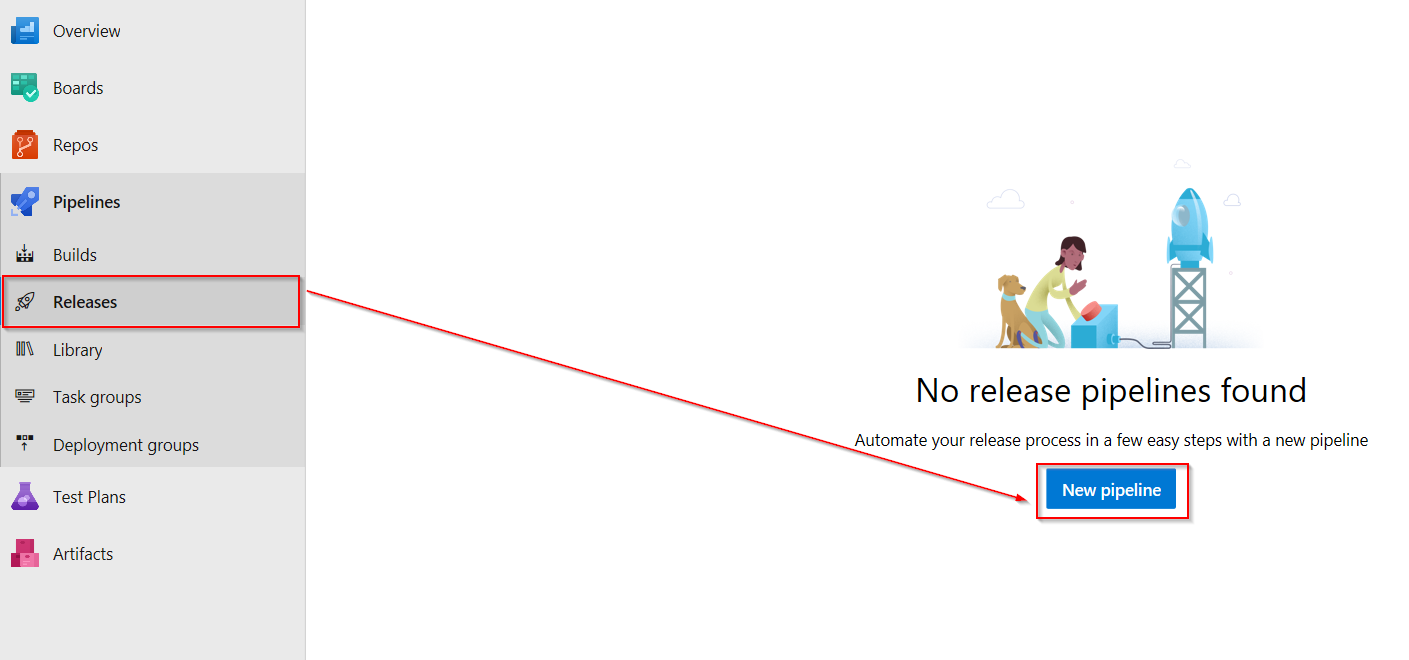
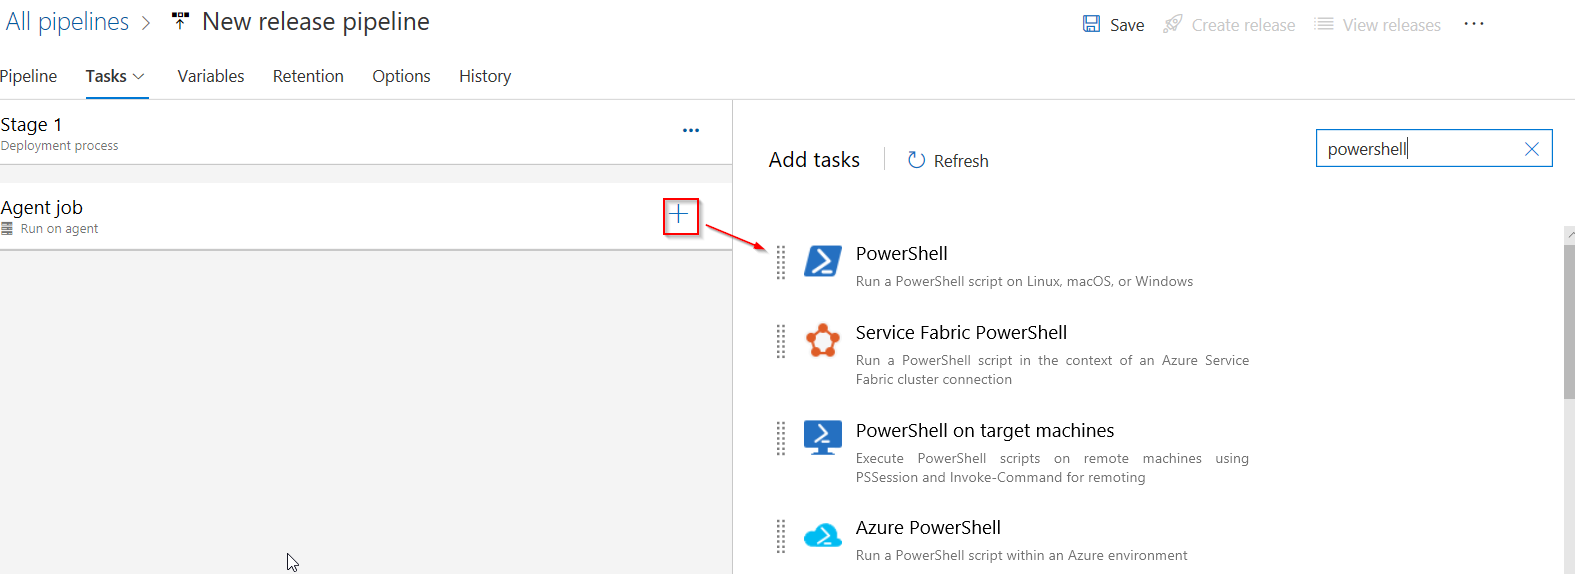
The first step is to create a new release pipeline. Select an empty job.
![]()
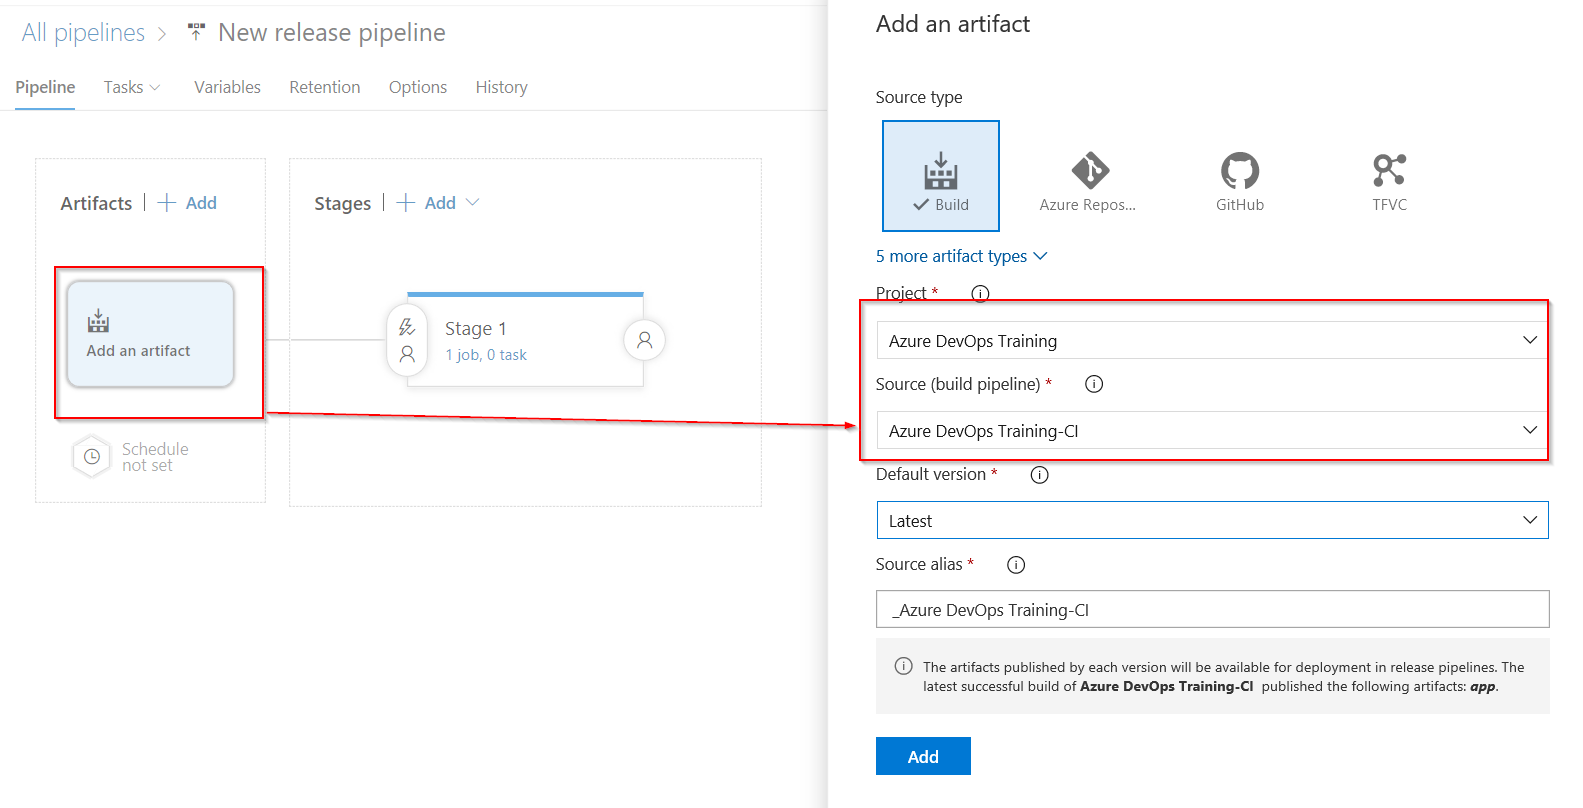
Here is the step where it is needed to add which artifacts (from which build) are taken to the release. Click on the artifacts and then set which build and project is the source for the release.
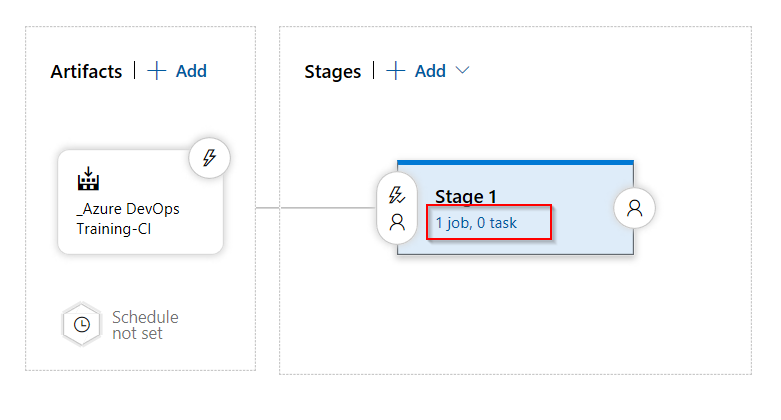
For this example, I will build a simple release pipeline that will have one job and only one task – running a PowerShell script. But remember that the release pipeline can have many more jobs and tasks – all depends on the needs of the organization.
The next step is to set up a Job. It is needed to set which agent pool and which agent will be used for release. It can be the same which is used for builds but it can be different (for example when our release database is on the different server than our Docker installation for builds).
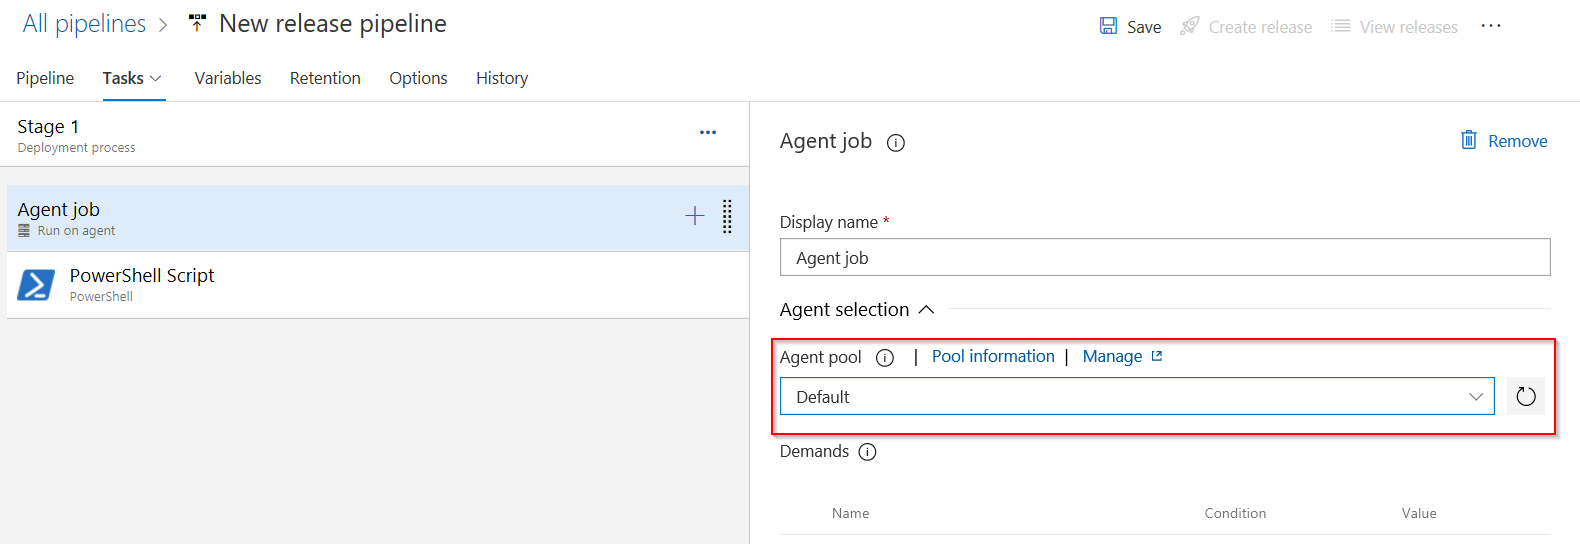
In the last step, it is needed to create a new task that will run the PowerShell script located on the server (path for the script need to be provided). And at least one argument is needed for the script with the folder where artifacts are stored. Example below:
-buildArtifactFolder “$(System.DefaultWorkingDirectory)”

The simplest example of the script you can find below. It go thru folder which was passed with the argument and then write the name of the app. In this place you should put your code which will publish the app to the database.
Param(
[Parameter(Mandatory=$true)]
[string] $BuildArtifactFolder
)Get-ChildItem -Path $BuildArtifactFolder -Recurse -Include *.app | ForEach-Object {
Write-Host “App Name: ” $_.Name
}
Summary
This is the last article in the series but for sure not the last one about the Automated Builds which I will publish on blog. I hope you enjoyed the articles the same as I enjoyed sharing the knowledge about it. If you would like to discuss more this topic with me, I would like to invite you to Directions EMEA where I will handle workshops “From Customer Request to Automated Release. How Azure DevOps and Docker can help you with daily work“.
Automated Builds – Part 9: Using Azure VM
Automated Builds – Part 10: Using Artifacts