#BCdevTips 8: AL does not need ML
Years ago someone learned me that I always should fill Caption and CaptionML for all fields. For years I sticked to this rule. But I know now I need to change my old habits… even if I still could do that in Visual Studio Code.
Where are Text Constants?
This is first change to all our functions related to language and texts in our code. In AL and Visual Studio Code Text Constants still exist, do not worry, but they changed the name. So now if you need to add any texts you should use Labels.
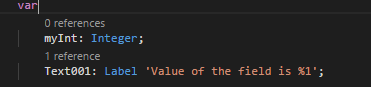
As you can see there is no option for LabelML or something similar.
If not ML then what?
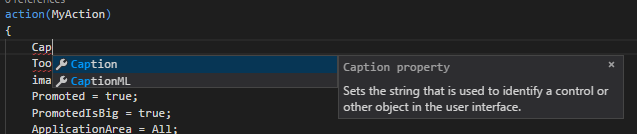
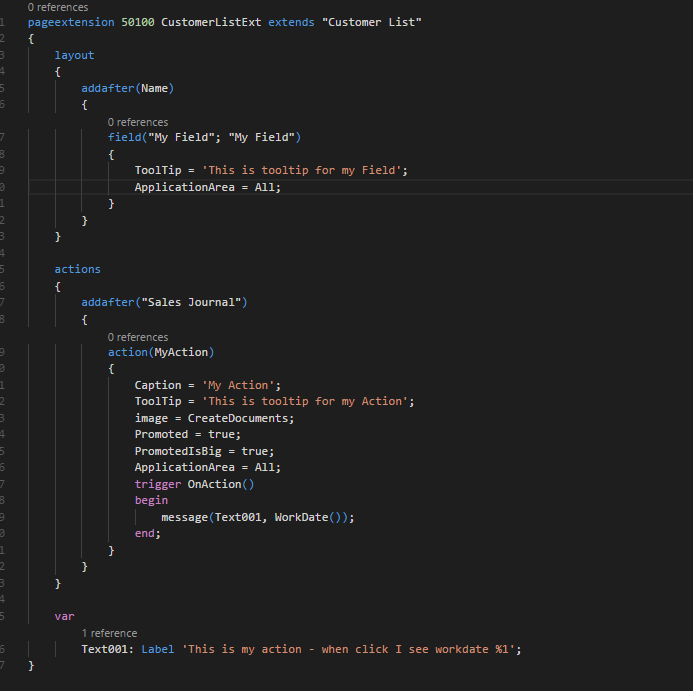
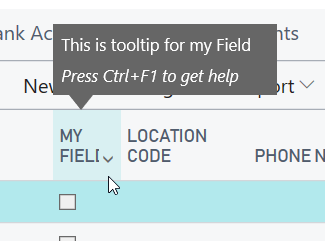
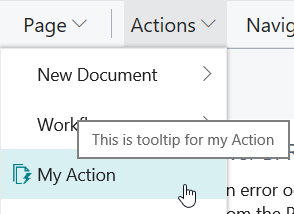
As I wrote in the beginning we still can find CaptionML and TooltipML – but we should not use them anymore. We just simply use Caption and ToolTip instead. See example below. It shows page extension with new action and new field.
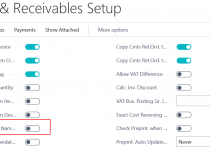
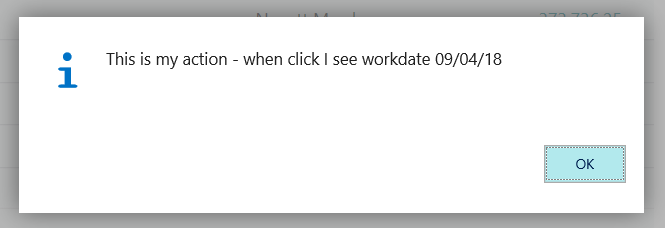
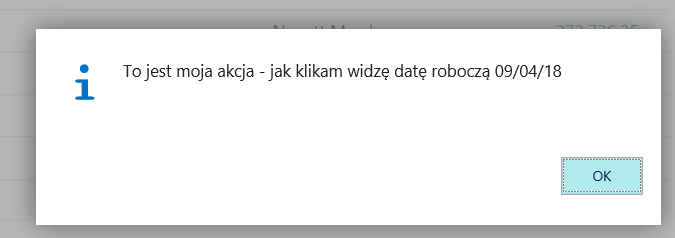
In Business Central this will look like this:
How to generate file for translation?
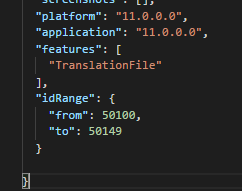
If we need our code to be translated we need to generate translation file. How to do it? It is very easy. We just need to add some parameter to our app.json file.
“features”: [“TranslationFile”]
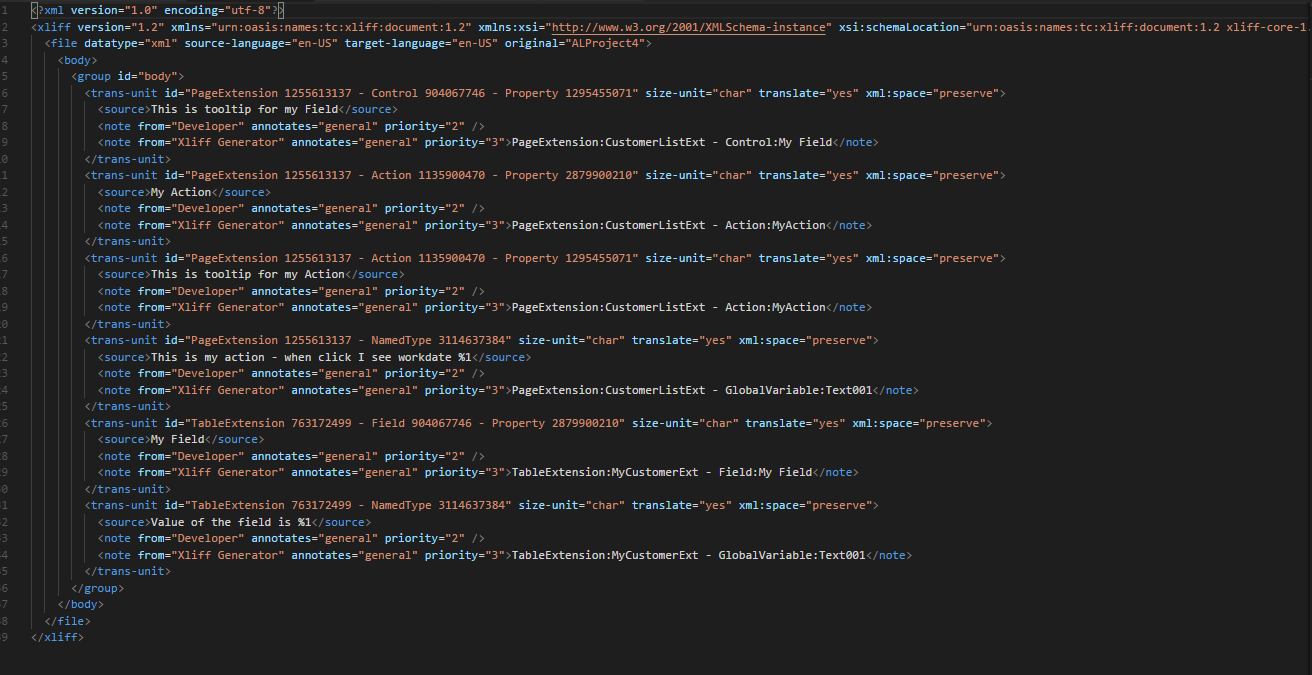
After building code (Ctrl+F5) we will see new folder and file which was generated automatically. This is XLIFF file.
For those who are not familiar with this format I am sending to https://www.oasis-open.org/committees/xliff/faq.php#WhatIsXLIFF or to Wikipedia https://en.wikipedia.org/wiki/XLIFF.
In few words we can say that this is standardized XML file used in all kind of applications. It was presented by Organization for the Advancement of Structured Information Standards (OASIS).

How to translate XLIFF?
There are few tools which you can use to open the file and do translation. I will present you one, which was for me the easiest to use. However if you have only few texts for translation below you can find steps which you need to manually prepare the file:
- Copy file and insert new file to the same folder in Visual Code. Name it with this pattern (it is not mandatory but it is good practice):
<project name>.<language name>.xlf
example: ALProject4.da-DK.xlf
- In line change with <file> target language. Use language codes in format as it is for example for English (US) so en-US. Whole list you can find for example here: http://www.lingoes.net/en/translator/langcode.htm
- Add below each <source> new line with translation <target>your translation</target>
See below result for one line:
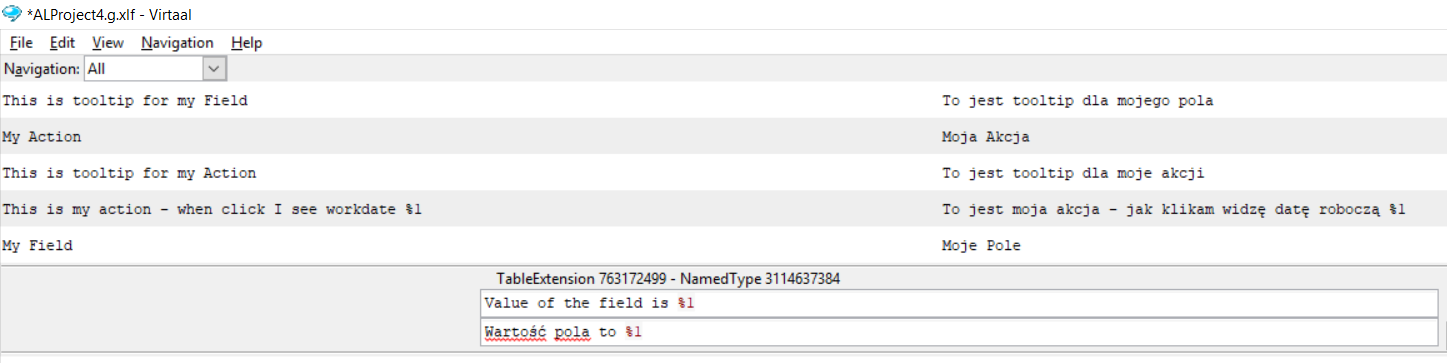
Let’s use some tool
For translation I can recommend you free tool Virtaal https://virtaal.translatehouse.org. It is quite easy to use. After opening you will see all texts which need to be translate. After finish just save the file and add it to Visual Studio Code and change target-language for example to da-DK (yes this is not exactly Danish translation but there is no Polish language in Business Central so for example I hope you do not mind)
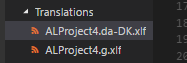
In Visual Studio Code you will have one Translation file for each language:
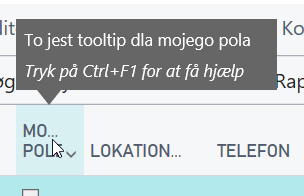
Let’s check results
So after changing the language in Business Central now we will see our “Danish” captions:

Automated Builds – Part 9: Using Azure VM

#BCdevTips 7: Your own playground